
Getting Started with NestBrowser
Learn how to install NestBrowser, create your first browser profile, and start managing multiple accounts safely.
Welcome to NestBrowser! This guide will walk you through setting up your first browser profile in minutes.
System Requirements
- Windows: Windows 10 or Windows 11 (64-bit)
- macOS: macOS 12 Monterey or later
- RAM: 4GB minimum, 8GB recommended
- Storage: 2GB free space
Step 1: Download and Install
- Visit Download Center
- Download the installer for your operating system
- Run the installer and follow the on-screen instructions
- Launch NestBrowser
Step 2: Create Your Account
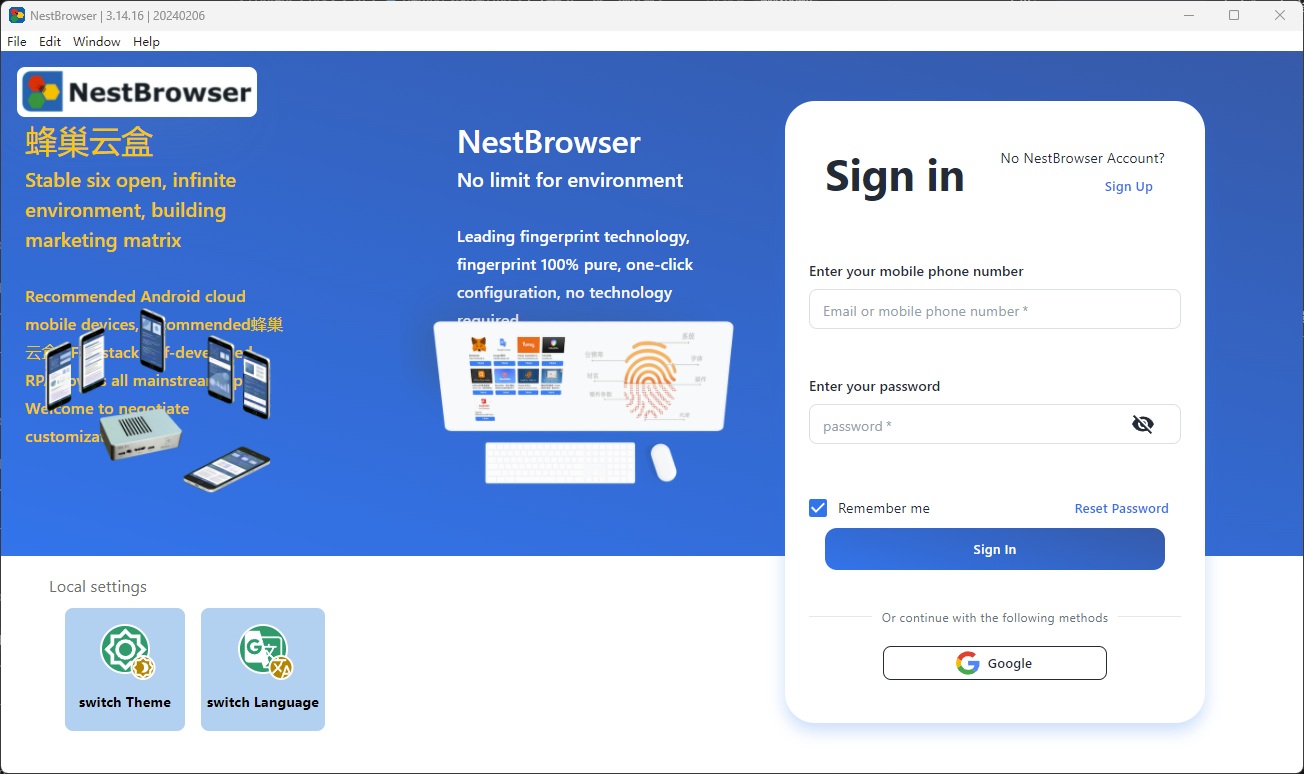
If you haven’t already, create a free account at Register Center. No credit card required.
Step 3: Create Your First Profile
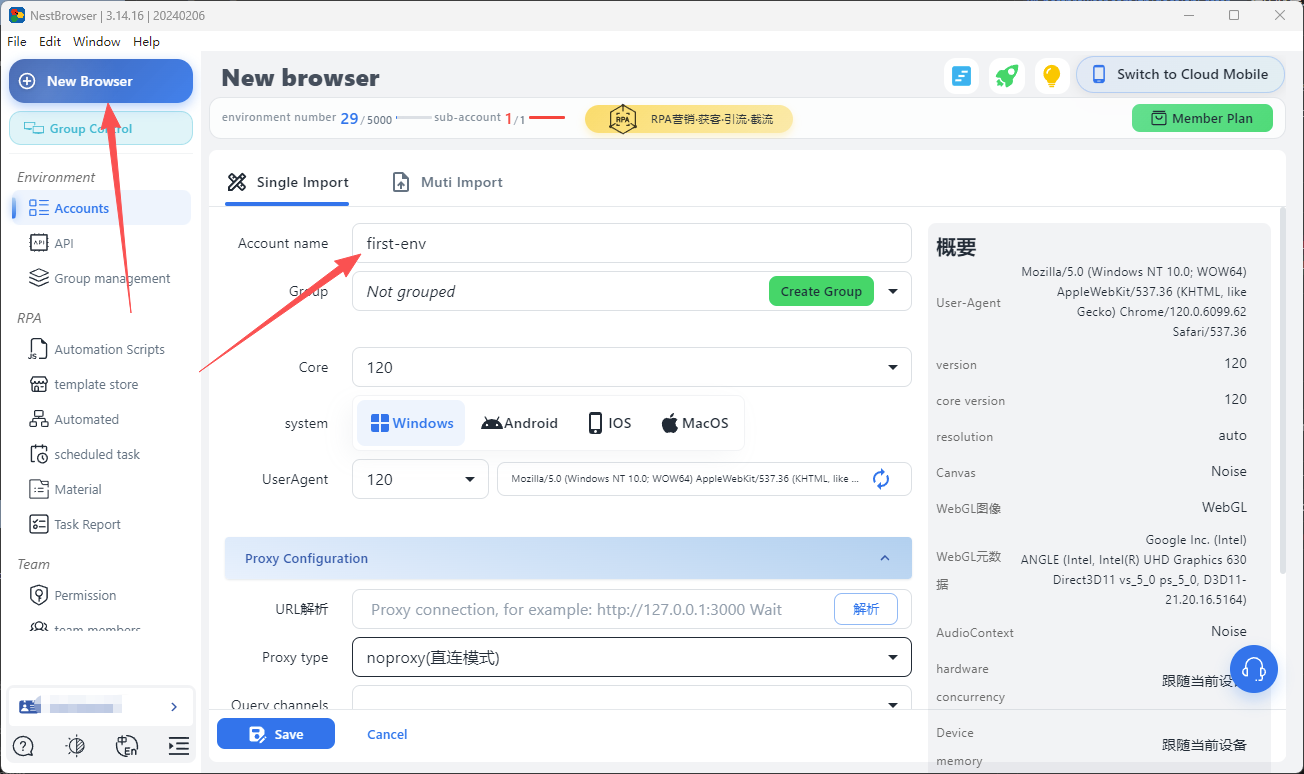
- In the NestBrowser dashboard, click New Profile
- Enter a profile name (e.g., “Account 1” or “Amazon Store A”)
- Select your preferred operating system fingerprint (Windows or macOS)
- Click Save
NestBrowser will automatically generate a unique, realistic fingerprint for this profile.
Step 4: (Optional) Add a Proxy
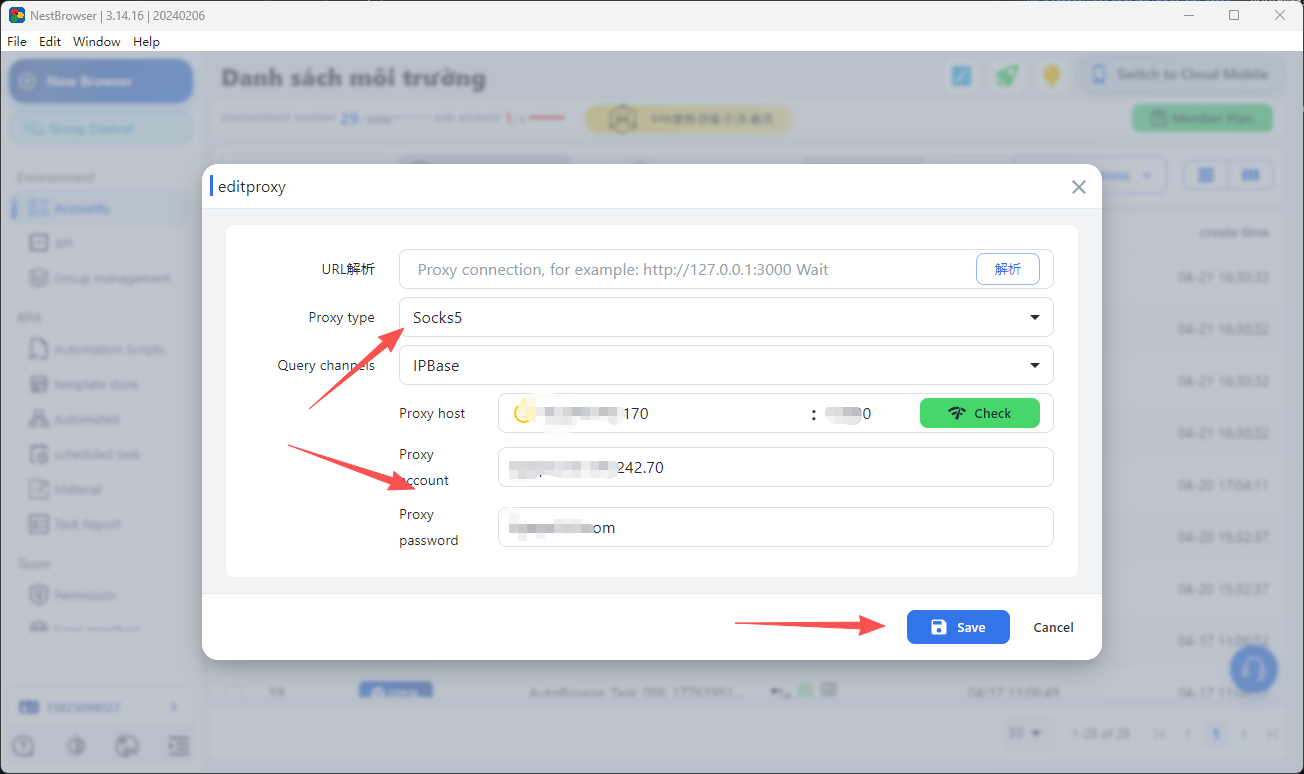
For maximum isolation, assign a dedicated proxy to each profile:
- Open the profile settings
- Go to the Proxy tab
- Select your proxy type (HTTP, SOCKS5, etc.)
- Enter proxy details: host, port, username, password
- Click Test Proxy to verify connectivity
- Click Save
Step 5: Launch Your Profile
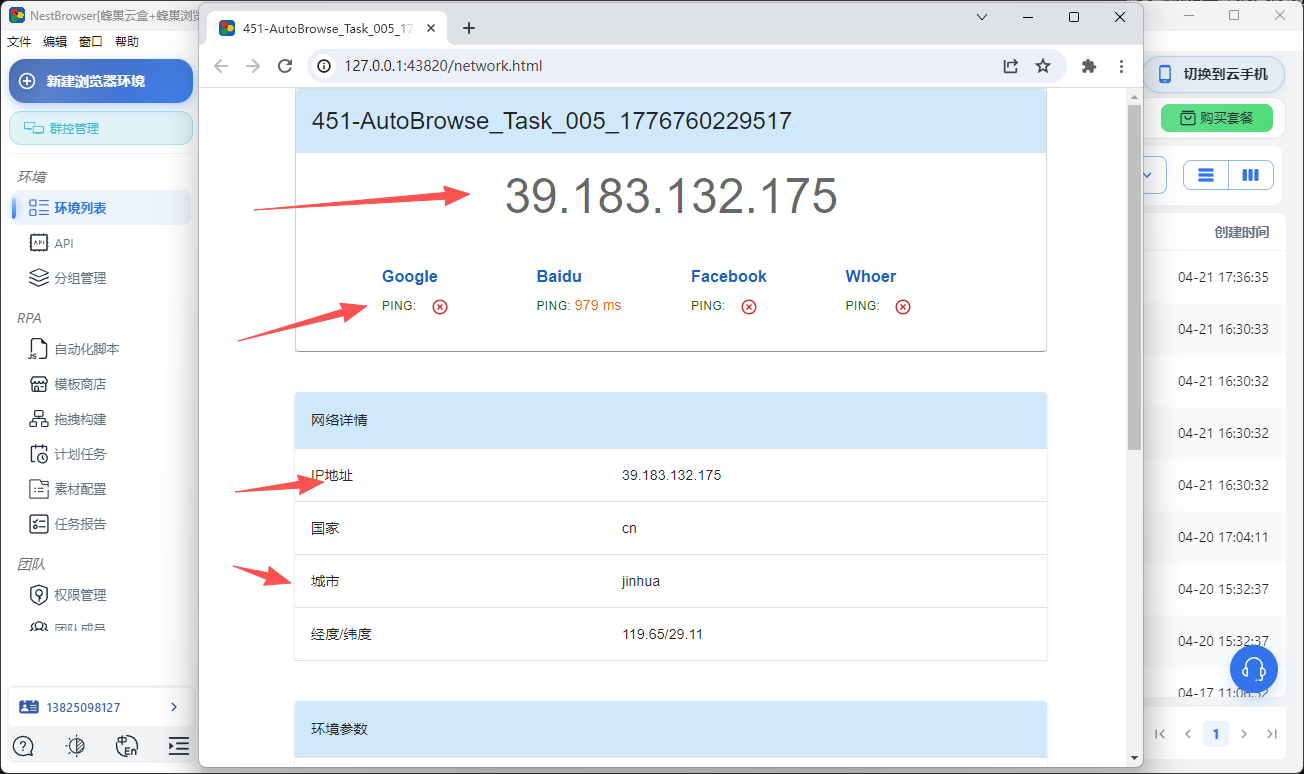
Click the Launch button next to your profile. A new browser window will open with your isolated fingerprint.
To verify your setup, visit browserleaks.com — you should see a unique fingerprint different from your regular browser.